이공계열 학생을 위한 Latex 작성 방법 Feat. Overleaf
※ Latex 소개 ※
Latex(레이텍스)는 프로그램 소스코드를 작성하듯이 논문을 작성할 수 있도록 도와주는 문서 작성 시스템입니다. 많은 논문이 Latex를 이용해 작성되고, 공유되어 관리되고 있습니다. 특히 논문에서 수학 공식 등이 사용되는 경우 Latex를 이용하면 상대적으로 쉽게 수식을 작성할 수 있습니다.
결과적으로 실제로는 Latex 에디터(Editor) 프로그램을 이용하여 논문을 작성하게 되는데요. 다양한 논문 프로젝트를 편하게 관리하고 공유할 수 있도록 해주는 서비스가 있습니다. 바로 Overleaf(오버리프)입니다.
▶ Overleaf 공식 홈페이지: https://www.overleaf.com/project
Log in to Overleaf
An online LaTeX editor that's easy to use. No installation, real-time collaboration, version control, hundreds of LaTeX templates, and more.
www.overleaf.com
회원가입 이후에는 [New Project] 버튼을 눌러서 새롭게 논문을 작성할 수 있습니다.
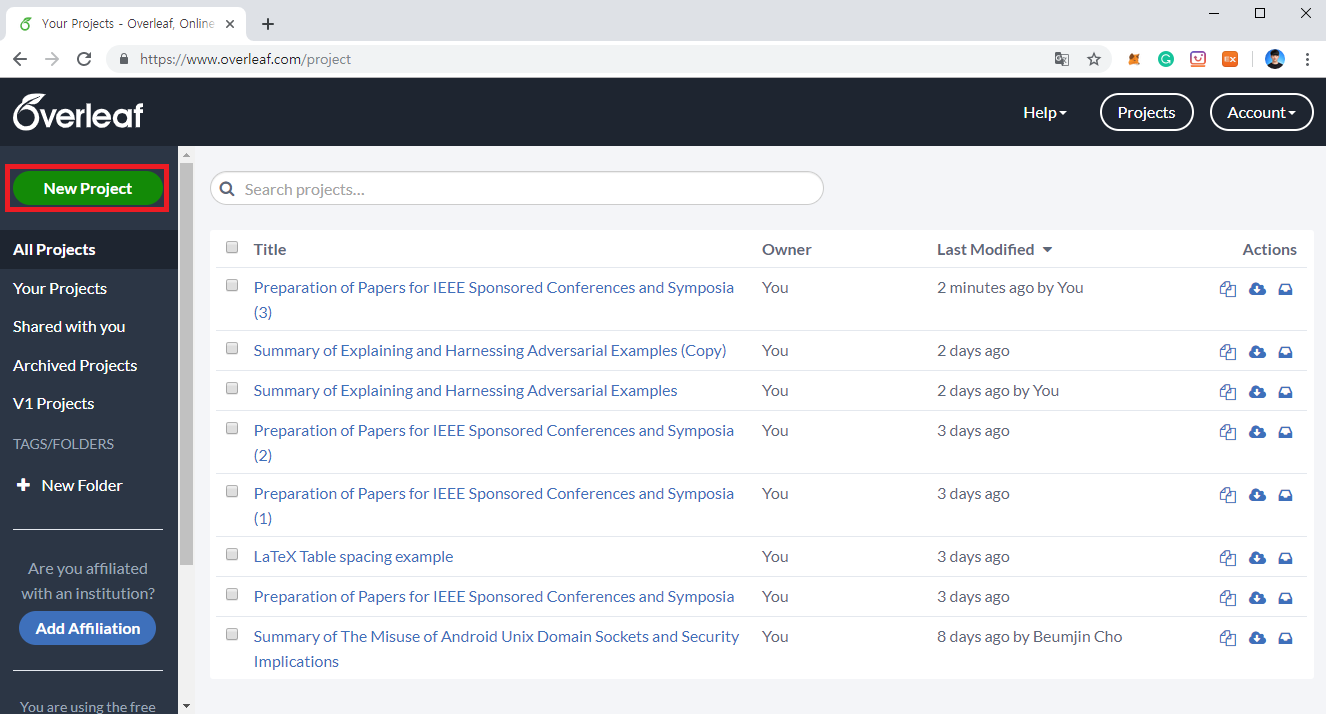
처음부터 시작하는 것은 어렵기 때문에 [Academic Journal] 템플릿을 이용하는 것을 추천합니다.
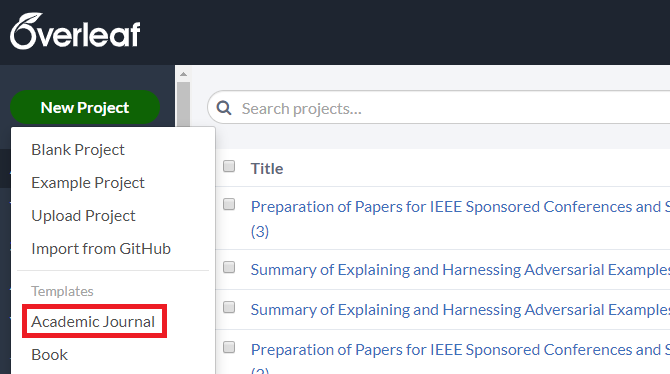
저는 주로 [IEEE (all)] 카테고리에서 Conference 전용 템플릿을 이용합니다.
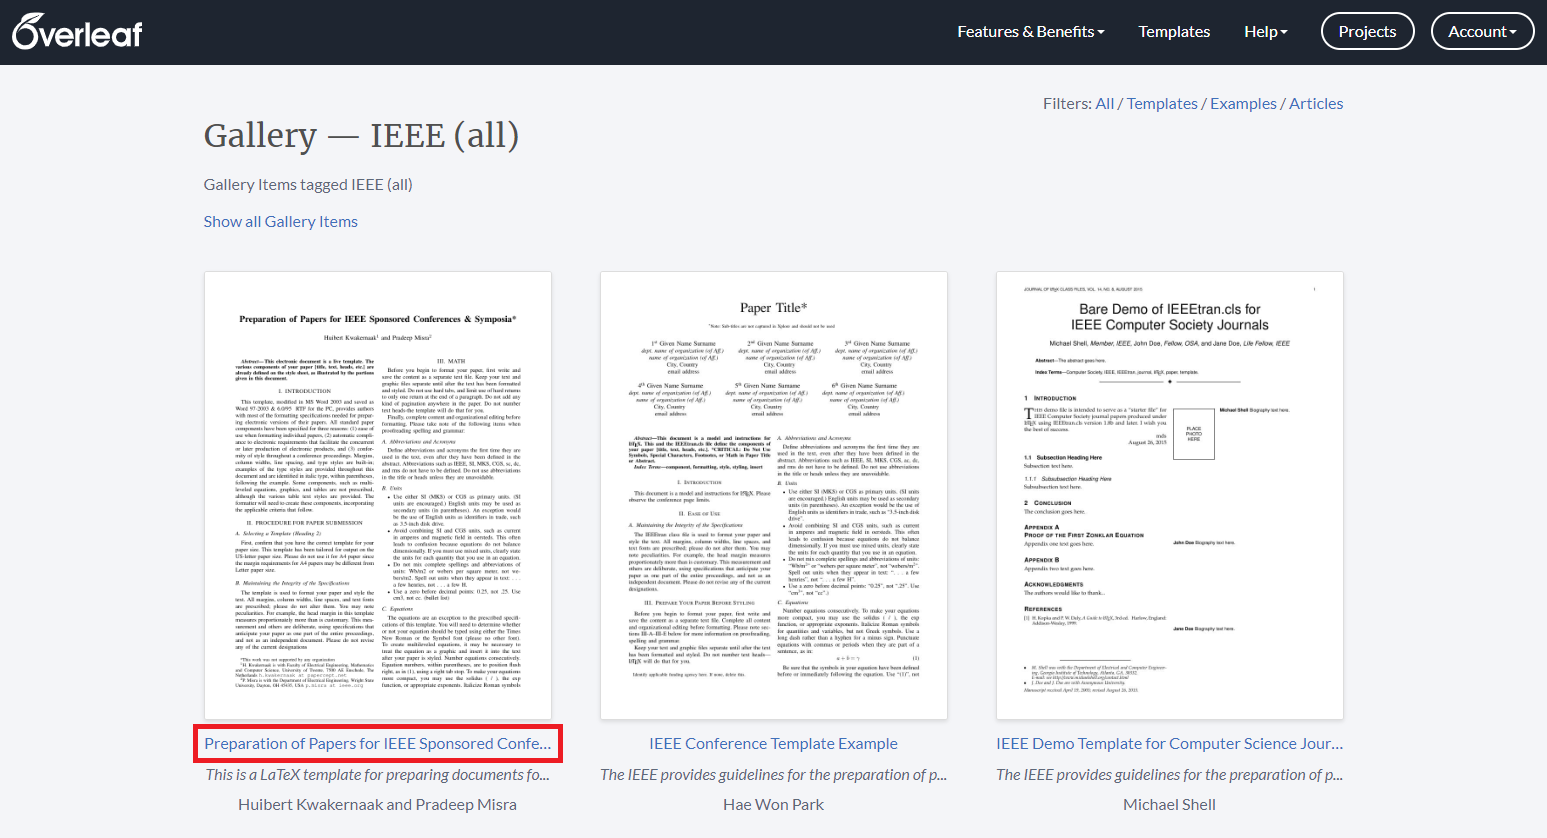
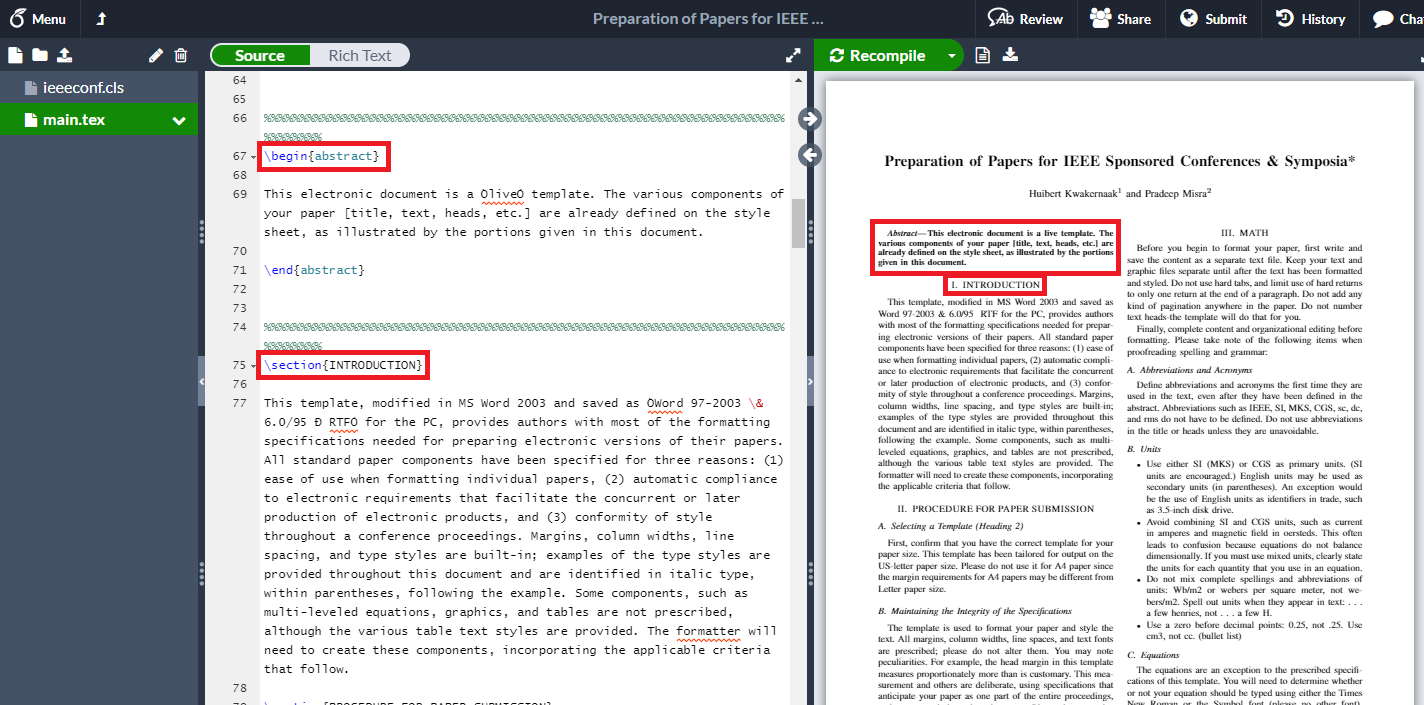
해당 템플릿을 열어 보시면, 처음에는 다음과 같이 모든 섹션(Section)들이 하나의 파일에 모아져 있습니다. 일단 전반적인 내용을 살펴 보시기에는 좋습니다.
※ 논문 섹션별로 구성해보기 ※
여러분이 이제 실제로 논문을 작성하게 될 때는 각 섹션(Section)을 별도의 tex 파일로 만들어 관리하는 것이 좋습니다. 저는 최근 Driller: Augmenting Fuzzing Through Selective Symbolic Execution이라는 논문을 읽고 있어서, 이 논문에 대한 Summary를 Latex에 작성해보고 있습니다. 일반적으로 다음과 같이 main.tex 내용을 구성하시는 것이 좋습니다.
\documentclass[letterpaper, 10 pt, conference]{ieeeconf}
\IEEEoverridecommandlockouts
\overrideIEEEmargins

\title{\LARGE \bf
Driller: Augmenting Fuzzing Through Selective Symbolic Execution Summary
}

\author{Dongbin Na$^{1}$
}

\begin{document}

\maketitle
\thispagestyle{empty}
\pagestyle{empty}

\begin{abstract}

This document is a summary paper of `Driller: Augmenting Fuzzing Through Selective Symbolic Execution' for the purpose of studying security issues on machine learning models.

\end{abstract}

{각각의 세션이 담길 공간}

\addtolength{\textheight}{-12cm}

\end{document}
이 때 각 세션은 {섹션 이름.tex} 형태로 파일을 만들어 주시면 됩니다. 또한 Reference는 별도로 reference.bib 파일을 생성하여 편하게 관리해주실 수 있습니다.
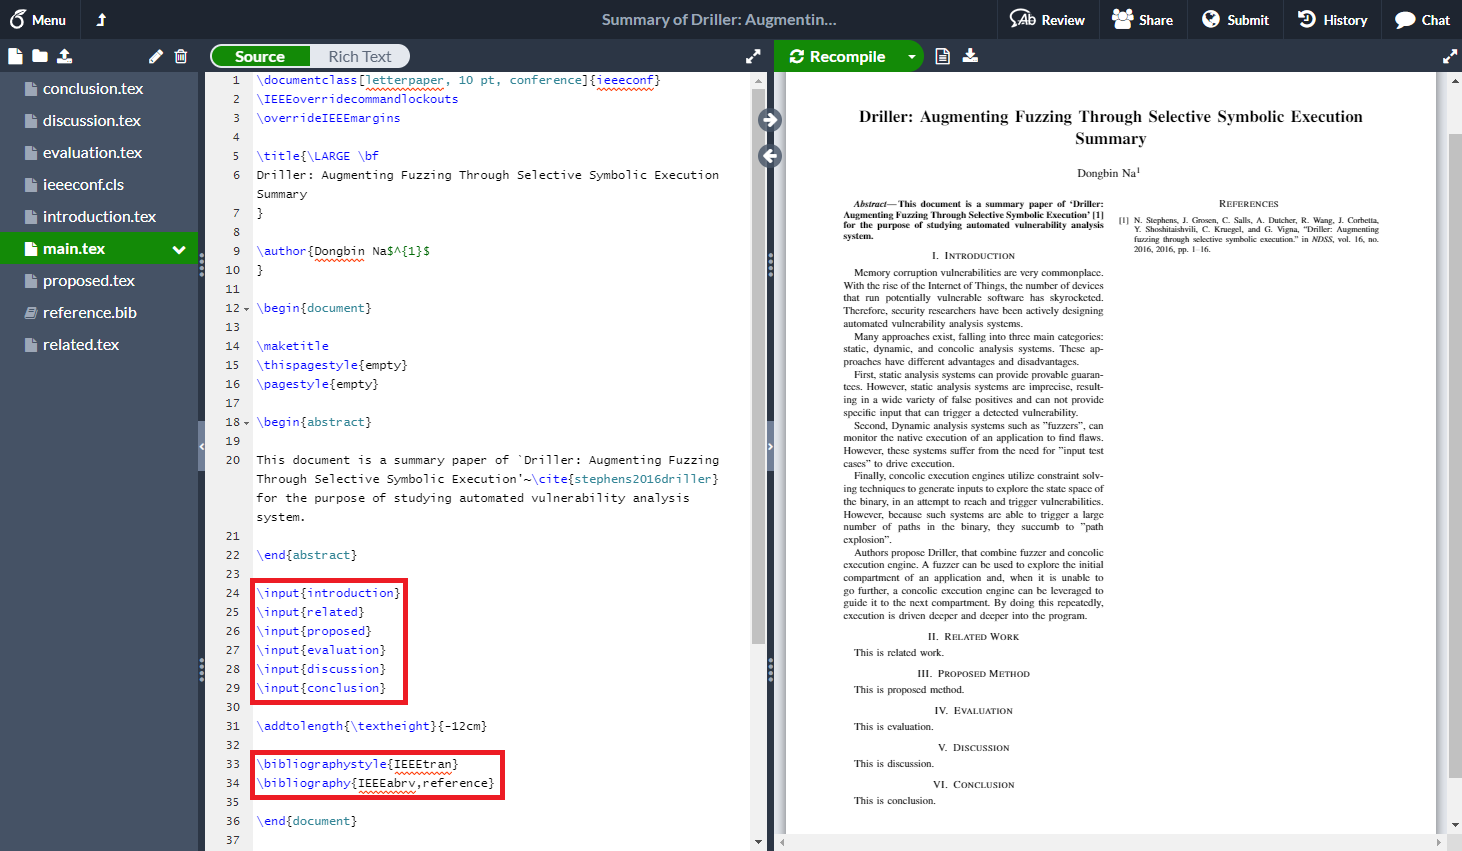
저는 일반적으로 다음과 같이 논문 내용을 구성합니다. 먼저 프로젝트 내에 Introduction, Related Work 등의 Section을 별도로 .tex 파일로 생성합니다. 이후에 input{introduction}과 같이 각각의 섹션을 불러와서 main.tex에 출력하는 방식입니다.
또한 reference.bib 파일을 정상적으로 읽어서 참고 문헌을 출력하도록 하려면, 아래와 같이 bibliographystyle{IEEEtran} 및 bibliography{IEEEabrv,reference}를 넣어주셔야 합니다. 그러고 나서 cite{인용구 이름} 형태로 불러올 수 있습니다.
introduction.tex는 다음과 같이 작성될 수 있습니다. 아래 내용이 그대로 본문에 삽입되어 있는 걸 확인할 수 있습니다.
\section{Introduction}

Adversarial examples for image recognition tasks are images with carefully perturbed pixels to deceive machine learning models.
Many machine learning models, including high-end neural networks, are vulnerable to adversarial examples.
A slight linear behavior in high-dimensional spaces can simply mislead machine learning models.

Therefore, malicious attackers can easily produce adversarial examples by manipulating an image (represented as a vector of pixels).
Authors propose FGSM, a very simple and fast method to produce adversarial examples.

In practice, neural network architectures that favor linearity, such as LSTMs, maxout networks are very vulnerable to FGSM.
Similarly, Regularization techniques such as dropout, pretraining, model averaging are also not resistant to adversarial examples.

Authors show adversarial training can be a good solution that prevents adversarial examples from deceiving machine learning models and regularizes the model.
RBF networks, the nonlinear model, are also resistant to threats of adversarial examples.
※ 인용구 찾아서 넣기 ※
reference.bib는 다음과 같이 작성될 수 있습니다. 아래 예제에서는 stephens2016driller가 인용구의 이름입니다.
@inproceedings {stephens2016driller,
  title={Driller: Augmenting Fuzzing Through Selective Symbolic Execution.},
  author={Stephens, Nick and Grosen, John and Salls, Christopher and Dutcher, Andrew and Wang, Ruoyu and Corbetta, Jacopo and Shoshitaishvili, Yan and Kruegel, Christopher and Vigna, Giovanni},
  booktitle={NDSS},
  volume={16},
  number={2016},
  pages={1--16},
  year={2016}
}
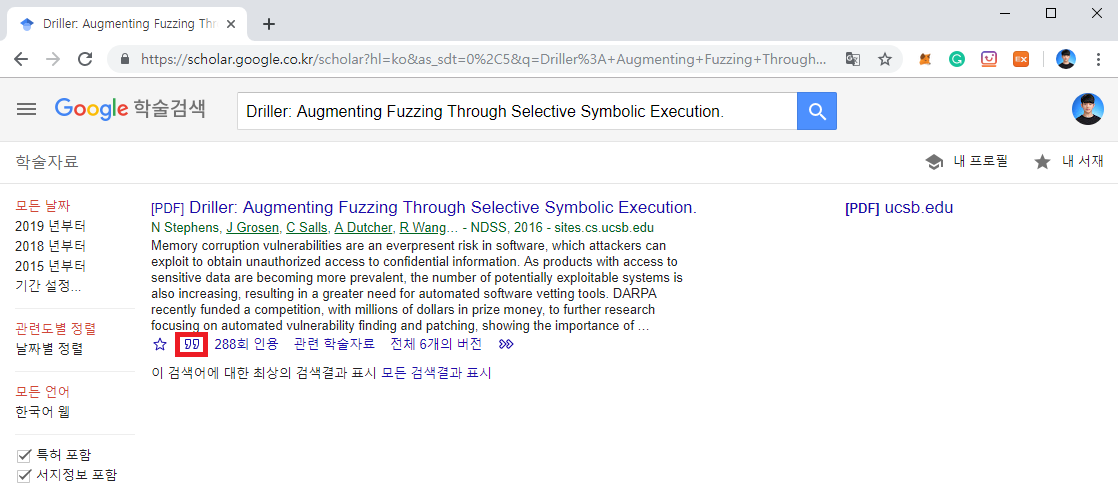
이러한 인용구 bib 소스코드는 Google 학술 검색 페이지(https://scholar.google.co.kr/)로 들어가 검색하면 쉽게 만들 수 있습니다.
※ 논문에 그림 넣기 ※
논문에 그림을 넣을 때는 별도의 패키지를 이용하면 됩니다.
\usepackage[utf8]{inputenc}
\usepackage{graphicx}
\usepackage{cleveref}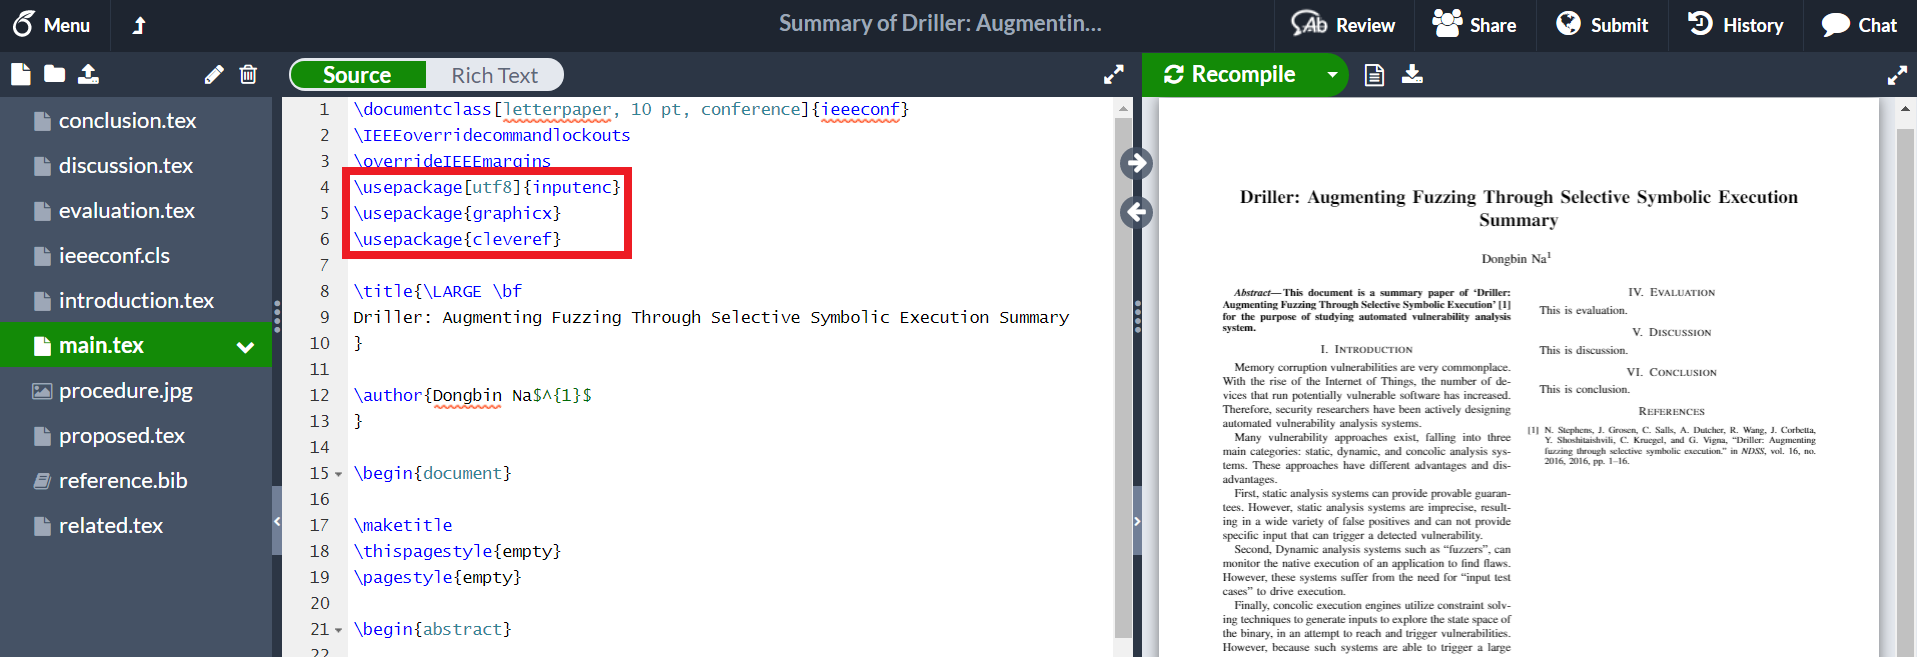
이후에 다음과 같이 실제로 논문에 넣고자 하는 이미지가 있으면, 다음과 같이 이미지를 업로드 하시면 됩니다.
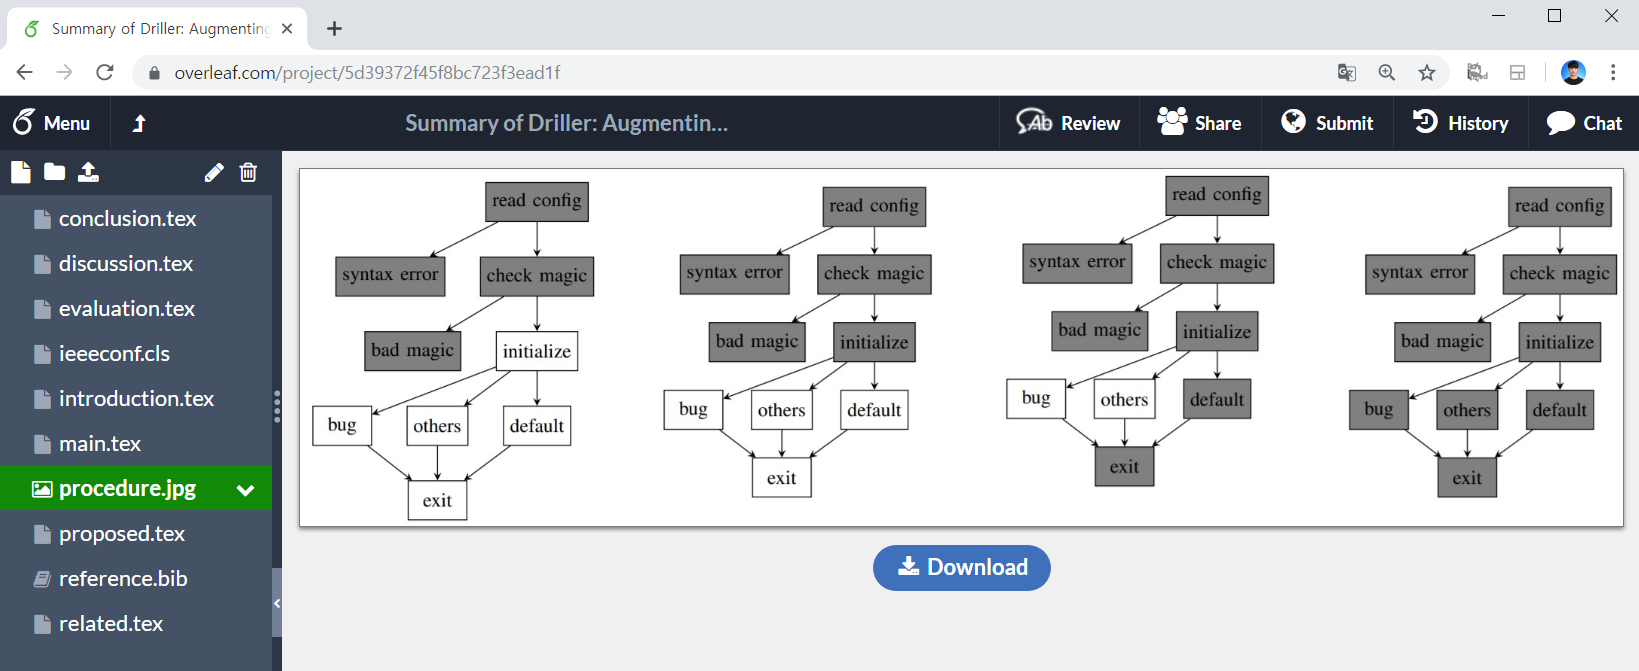
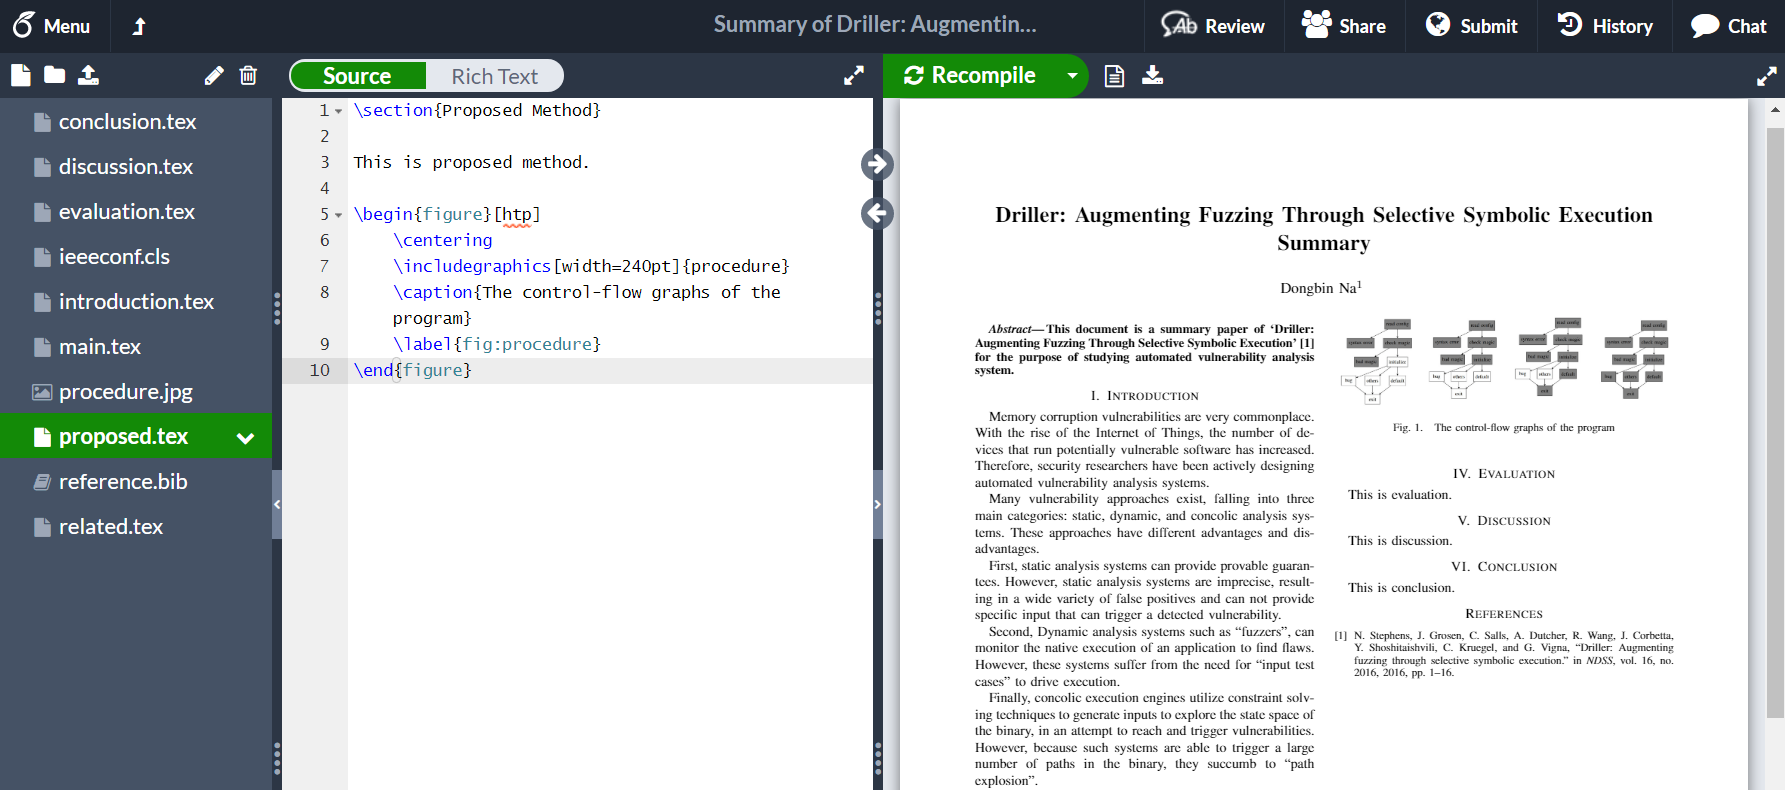
이후에 실제 문단에서는 다음과 같이 작성하시면 됩니다.
\begin{figure}[htp]
    \centering
    \includegraphics[width=240pt]{procedure}
    \caption{The control-flow graphs of the program}
    \label{fig:procedure}
\end{figure}
그러면 다음과 같이 이미지가 하나의 다단(Column)에 정상적으로 들어갑니다.
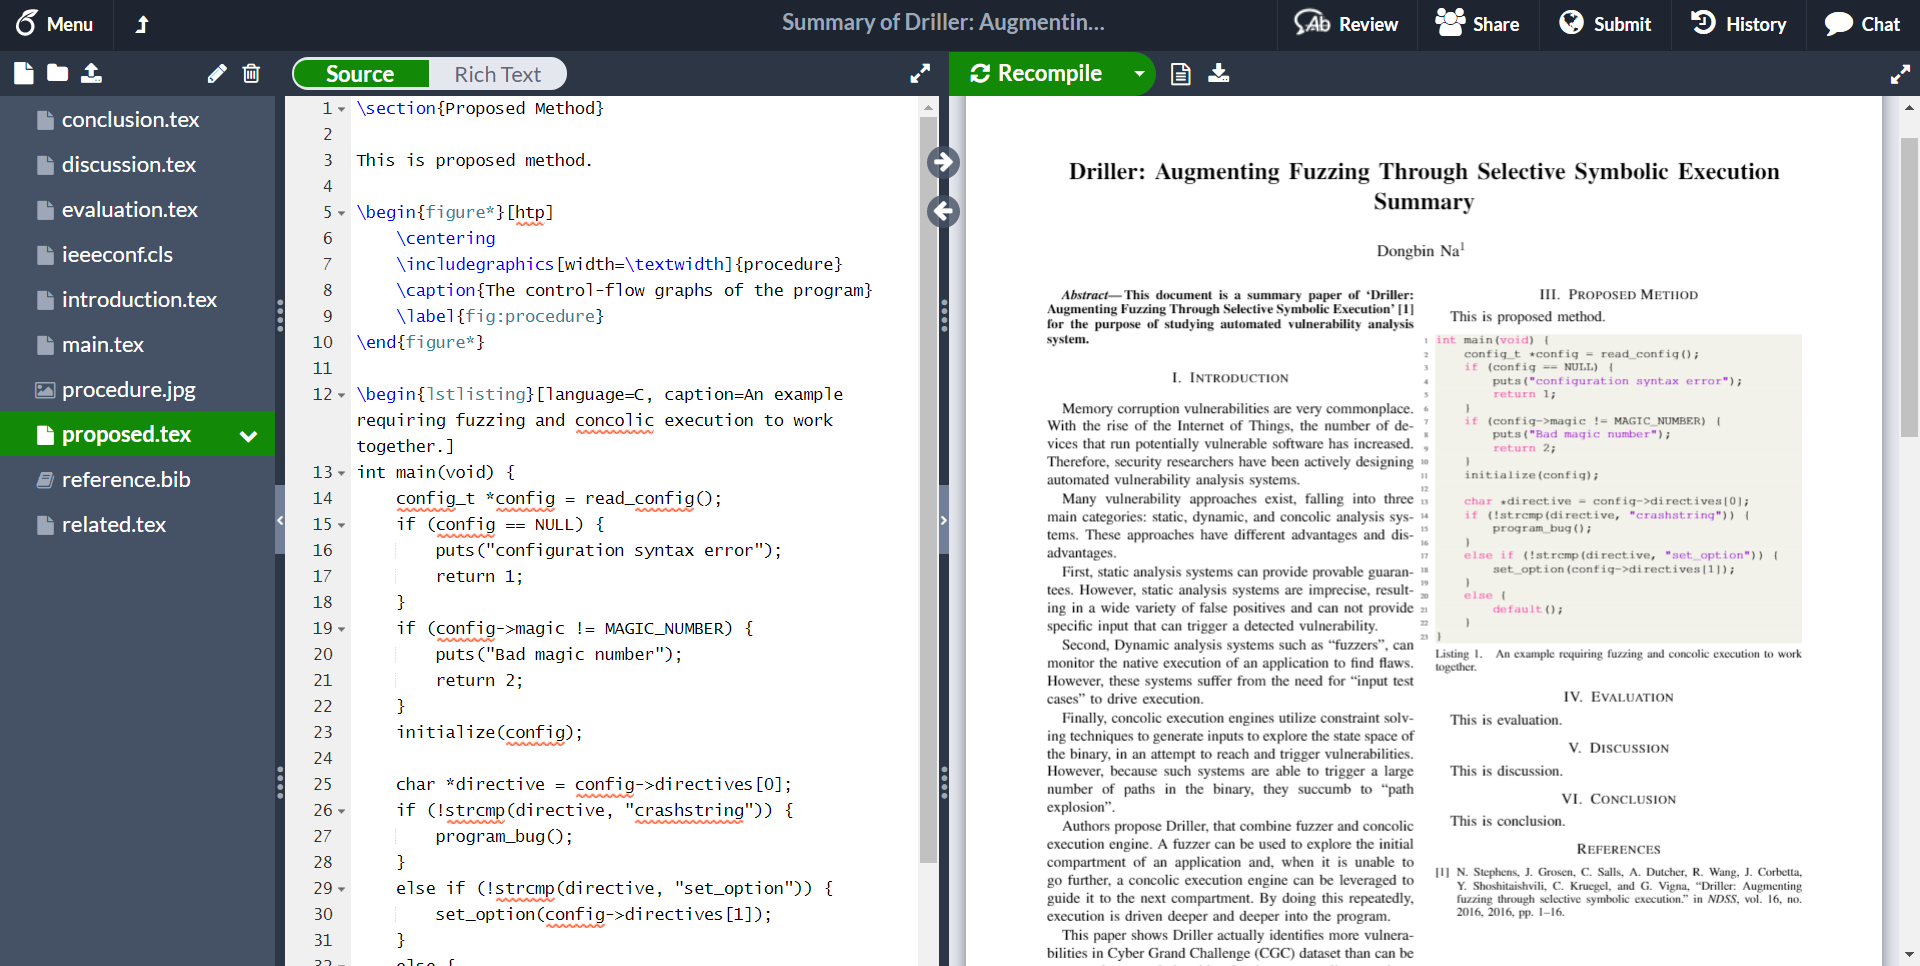
혹은 만약에 두 다단을 모두 포함하여 이미지가 들어가도록 하고 싶다면, 다음과 같이 별(*)을 넣으시면 됩니다. 또한 width는 textwidth로 설정하시는 걸 추천합니다.
\begin{figure*}[htp]
    \centering
    \includegraphics[width=\textwidth]{procedure}
    \caption{The control-flow graphs of the program}
    \label{fig:procedure}
\end{figure*}
결과는 다음과 같습니다.

또한 문장에서 이러한 이미지를 참조해야 한다면, 간단히 다음과 같은 방식으로 참조하시면 됩니다. 이미지에서 label 속성에 적어 놓은 값을 그대로 이용합니다.
\cref{fig:procedure}
※ 논문에 소스코드 넣기 ※
논문에 소스코드를 넣을 때는 listings라는 이름의 패키지를 사용합니다. 다만 단순히 소스코드를 넣으면 소스코드 내용 길이가 길거나 하면, 코드가 페이퍼 밖으로 벗어나거나 할 수 있어요. 그렇기 때문에 일반적으로 소스코드에 대한 내용을 설정해주어야 합니다. 저는 Overleaf 공식 문서에서 제공하고 있는 코드 스타일 양식을 그대로 사용하는 것을 추천합니다.
\usepackage{listings}
\usepackage{xcolor}

\definecolor{codegreen}{rgb}{0,0.6,0}
\definecolor{codegray}{rgb}{0.5,0.5,0.5}
\definecolor{codepurple}{rgb}{0.58,0,0.82}
\definecolor{backcolour}{rgb}{0.95,0.95,0.92}

\lstdefinestyle{mystyle}{
    backgroundcolor=\color{backcolour},
    commentstyle=\color{codegreen},
    keywordstyle=\color{magenta},
    numberstyle=\tiny\color{codegray},
    stringstyle=\color{codepurple},
    basicstyle=\ttfamily\footnotesize,
    breakatwhitespace=false,
    breaklines=true,
    captionpos=b,
    keepspaces=true,
    numbers=left,
    numbersep=5pt,
    showspaces=false,
    showstringspaces=false,
    showtabs=false,
    tabsize=2
}

\lstset{style=mystyle}
설정 이후에는 다음과 같이 소스코드를 문단 내에 바로 넣을 수 있습니다. 이 때 어떤 언어를 사용할 것인지에 대한 정보는 language 속성의 값으로 넣으시면 됩니다. 저는 간단한 C언어 소스코드를 작성해 보았습니다.
\begin{lstlisting}[language=C, caption=An example requiring fuzzing and concolic execution to work together.]
int main(void) {
    config_t *config = read_config();
    if (config == NULL) {
        puts("configuration syntax error");
        return 1;
    }
    if (config->magic != MAGIC_NUMBER) {
        puts("Bad magic number");
        return 2;
    }
    initialize(config);

    char *directive = config->directives[0];
    if (!strcmp(directive, "crashstring")) {
        program_bug();
    }
    else if (!strcmp(directive, "set_option")) {
        set_option(config->directives[1]);
    }
    else {
        default();
    }
}
\end{lstlisting}
그러면 다음과 같이 소스코드가 정상적으로 들어가는 것을 확인할 수 있습니다.
'기타' 카테고리의 다른 글
| WebHelper 애드웨어 제거 방법 (0) | 2019.09.09 |
|---|---|
| Ubuntu에 Python 2.7.16 버전 설치하는 방법 (0) | 2019.08.05 |
| Ubuntu 16.04에 Nginx 설치하기 (0) | 2019.07.25 |
| Ubuntu 16.04에 무료 SSL 인증서 설치하기 (Let's Encrypt) (1) | 2019.07.25 |
| 유용한 파이썬(Python) 온라인 개발환경 소개 (0) | 2019.07.15 |
